Download Debian 9 ISO from here, put the OS burned DVD into the DVD-ROM drive or make USB Boot disk, change the boot sequence of your system so that it boots from Installation Media.


After booting from instalation media, choose “Graphic Install” for starting Debian Installation in graphical mode.

Select a language you like to use during the installation of Debian.

Select your location.

Configure your keyboard.

Configure the network:
Set the hostname for your system. Here, enter a host name without a domain name.

Enter your domain name. If this server is on your home network, then leave it blank.

Set root password:
Enter a password for the root account. To have a greater security over an account, make sure a password contains a mixture of letters, numbers and special characters.

Create a new user:
Create a new, non-root user for non-administrative activities. Enter a name.

Enter a user name for the above user. This name is the actual username you use to login into the system.

Set a password for the user “raj“.

Select the Timezone.

Partitions Creation:
Next, choose any one of the partition methods to create partitions during the installation process.
Automatic:
- Guided – use entire disk: Uses full disk and creates simple partitions (without LVM) for OS installation
- Guided – use entire disk and set up LVM: Uses full disk and creates partitions on top of LVM.
- Guided – use entire disk and set up encrypted LVM: Uses full disk and creates partitions on top encrypted LVM.
Manual:
- Manual: Use this to create partitions of your choice. This partitioning method is for advanced users. You can also use this method to retain your previous operating systems as well as your data if you partition correctly.
For this tutorial, I am choosing a second option (Guided – use entire disk and set up LVM).

Next, select the disk you want to partition for Debian installation.

I am choosing to have a separate partition for /home, /var, and /tmp partitions.

Choose “Yes” to write changes to disk and configure LVM.

Once the changes are written to the disk, then the final disk layout will look like below.

If you are happy with the partition layout, choose “Yes” to write changes to disk.

Once the partition creation is done, the installer will begin the installation of the base system.

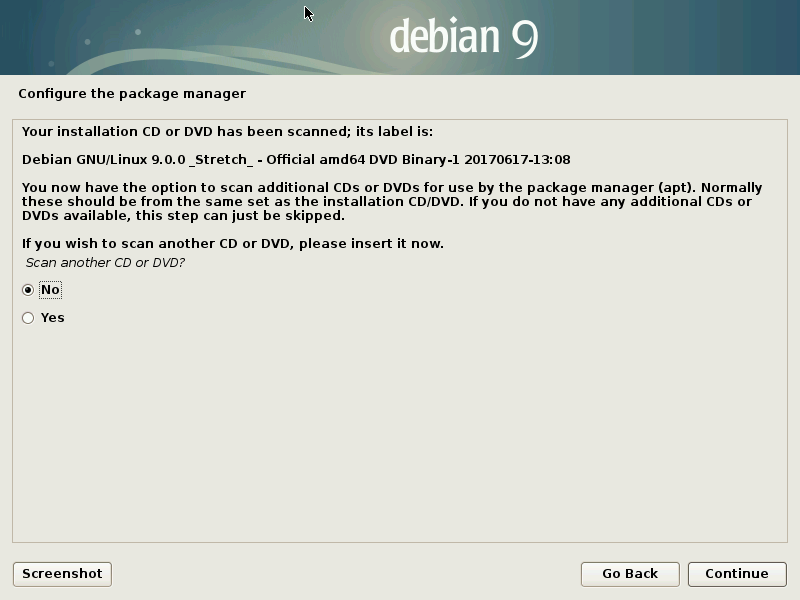
Configure the package manager:
Choose “No” to skip the scanning of another CD or DVD.
Choose “No” to use a network mirror.

Choose “No” to Participate in the package usage survey.

Choose the software you want to install at the time of Debian installation. Make sure you have selected “SSH server” for remote terminal access.
If you want to install Debian Minimal server – Untick the Debian desktop environment on the following step

Debian installer is now installing software for you.

Choose “Yes” to install the GRUB boot loader to the master boot record.

Select the partition or disk on which you want to install the GRUB boot loader.

The installation is now complete, click “Continue” to reboot your system.

The login screen of Debian 9:

Debian 9 Gnome Desktop:

First, I’d like to thank you for visiting my site and taking a moment to read my blog post, title :
How to Install Debian 9. I hope I can provide some useful information here that will help you solve some problem you may be having with your raspberry or linux operating system.
Let me also extend an open invitation to any of you to send me your questions or comments about your house and any problems that you may be having.
Again, thank you for spending some time at my site and in my blog. I hope you come to visit again soon!
remember to add my google plus id :
Gudang Skripsi Teknik Informatika
How to Install Debian 9
4/
5
Oleh
Gudang Skripsi Teknik Informatika


